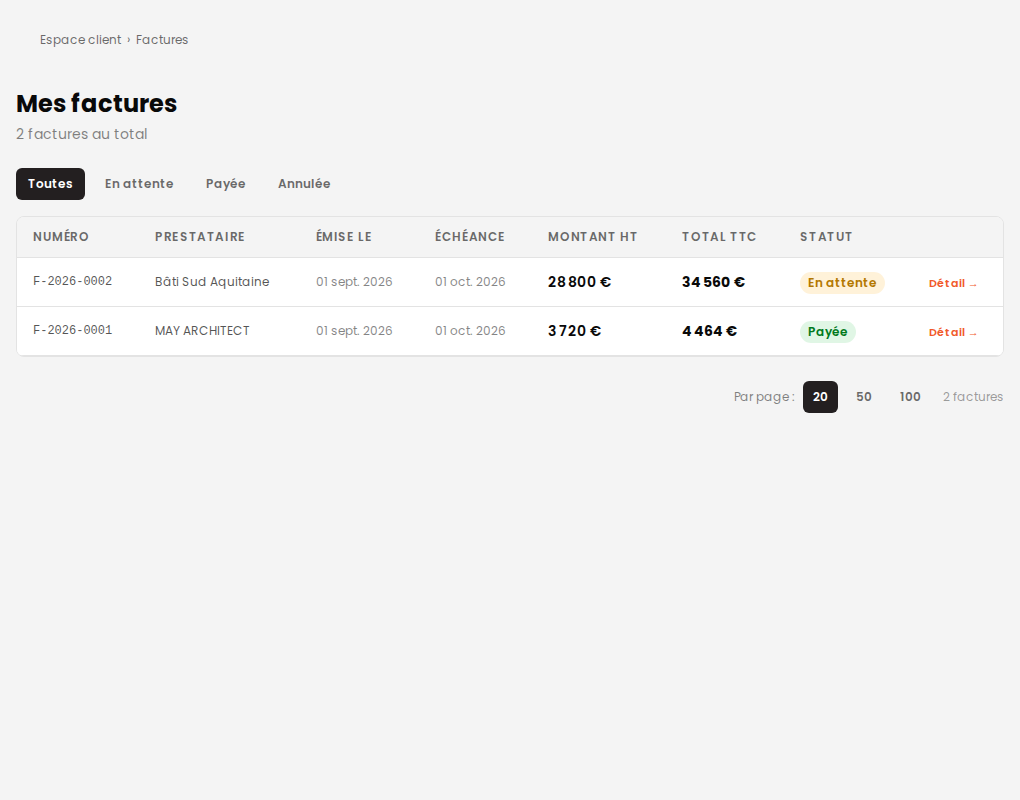

This guide follows a project from the very beginning through to the start of the build. The screenshots come from a demonstration account: the amounts shown are those of this example, not a price list.
This guide shows the screens. To understand the process itself — the two consecutive consultations, who decides what, and how far the project goes — read The stages of a project, from submission to completion.
1. Submitting your project
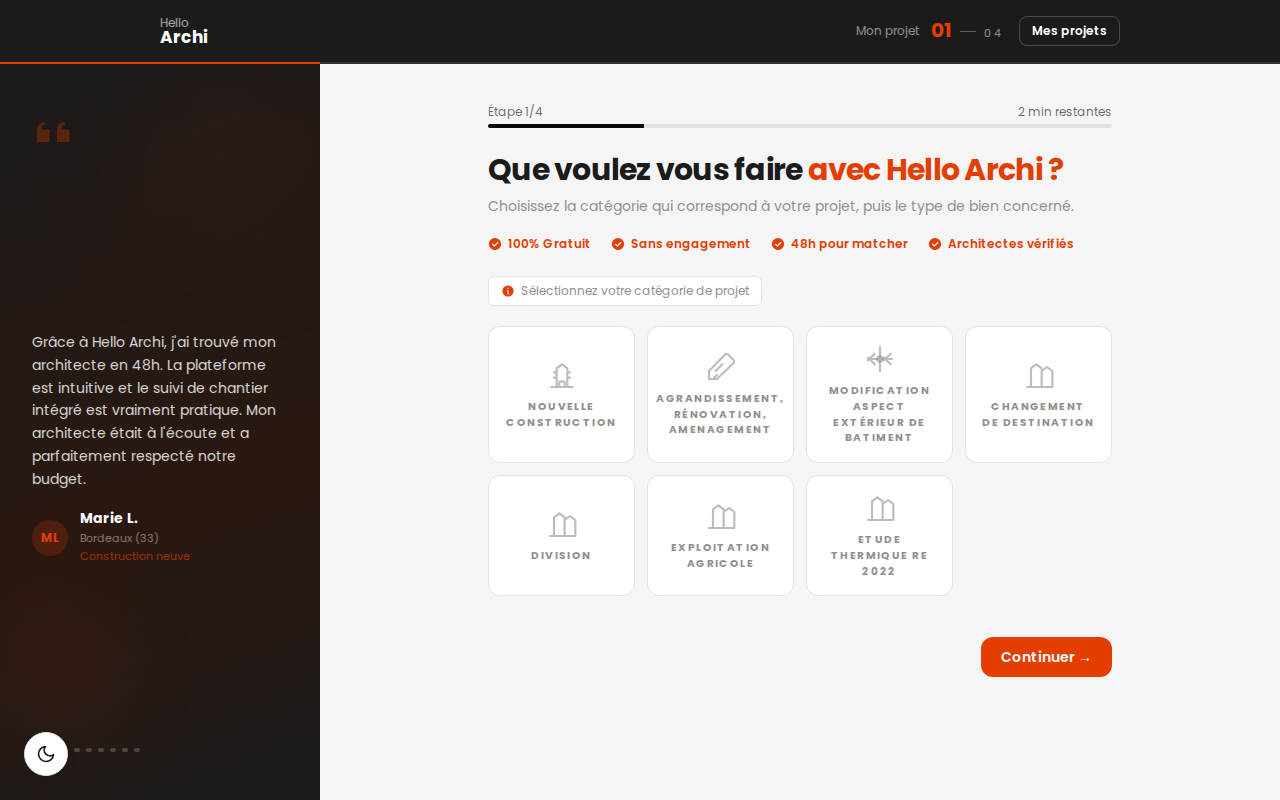
Everything starts with a submission in four steps. You describe the kind of work, the property concerned, then where it is.
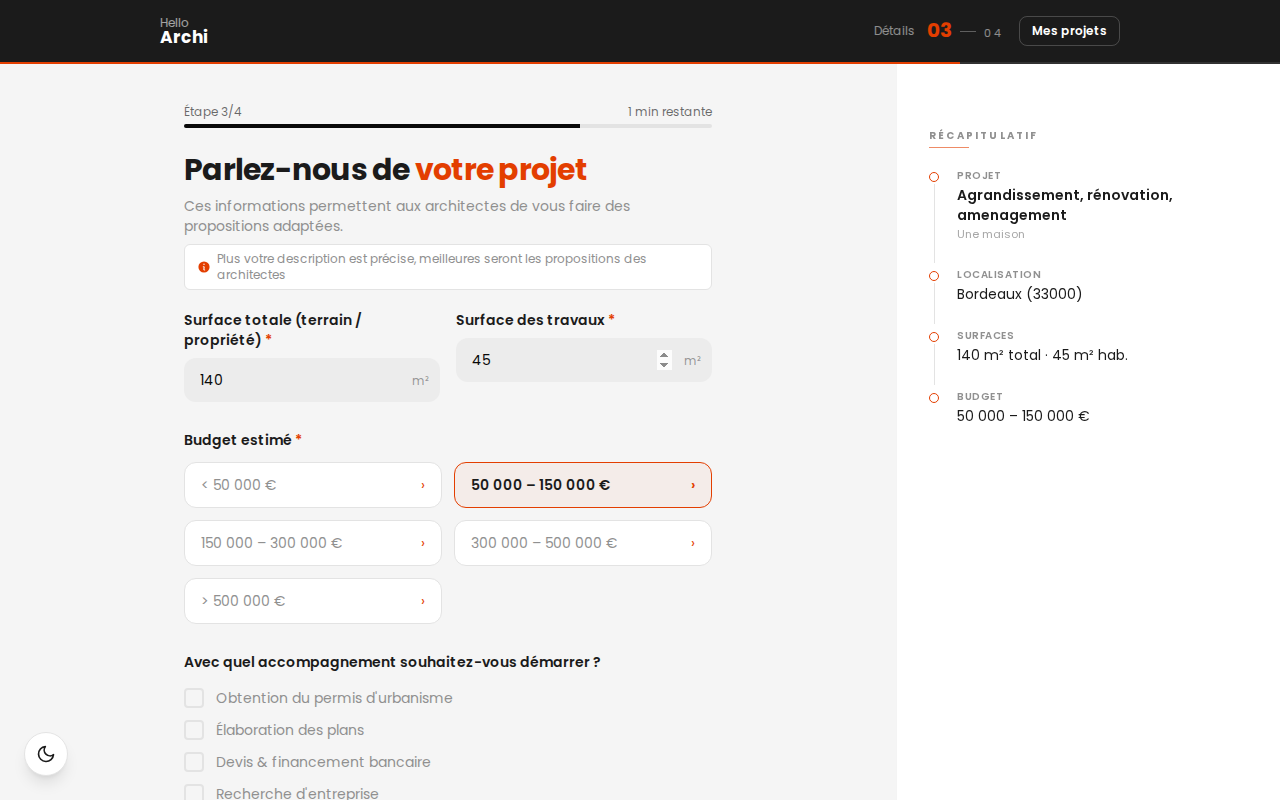
At the third step you give the floor areas, a budget range and the kind of support you want. The summary on the right fills in as you go: you can see at all times what professionals will read.
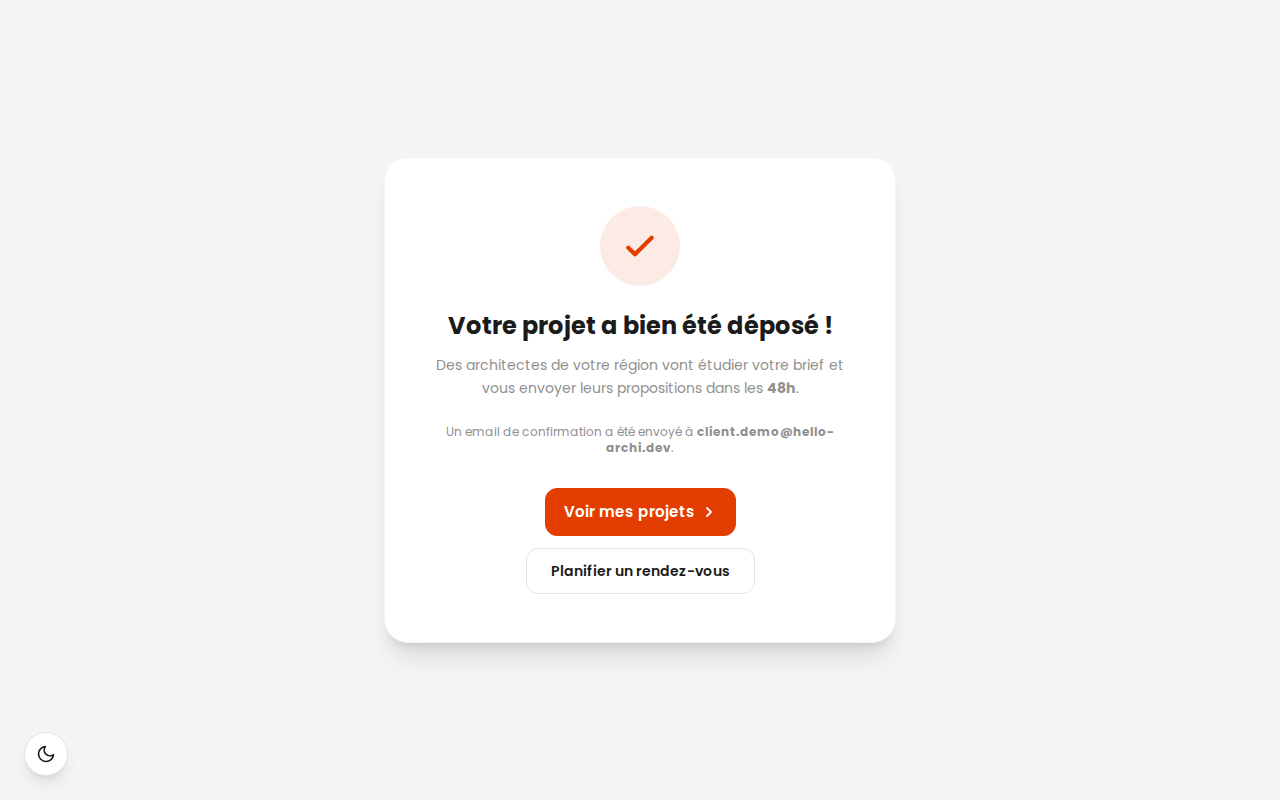
Once you confirm, your project reaches us.
2. Following progress
Your project appears in your area with its status. Its detail page carries a six-step progress bar: study, design, consulting companies, preparation, build, handover.
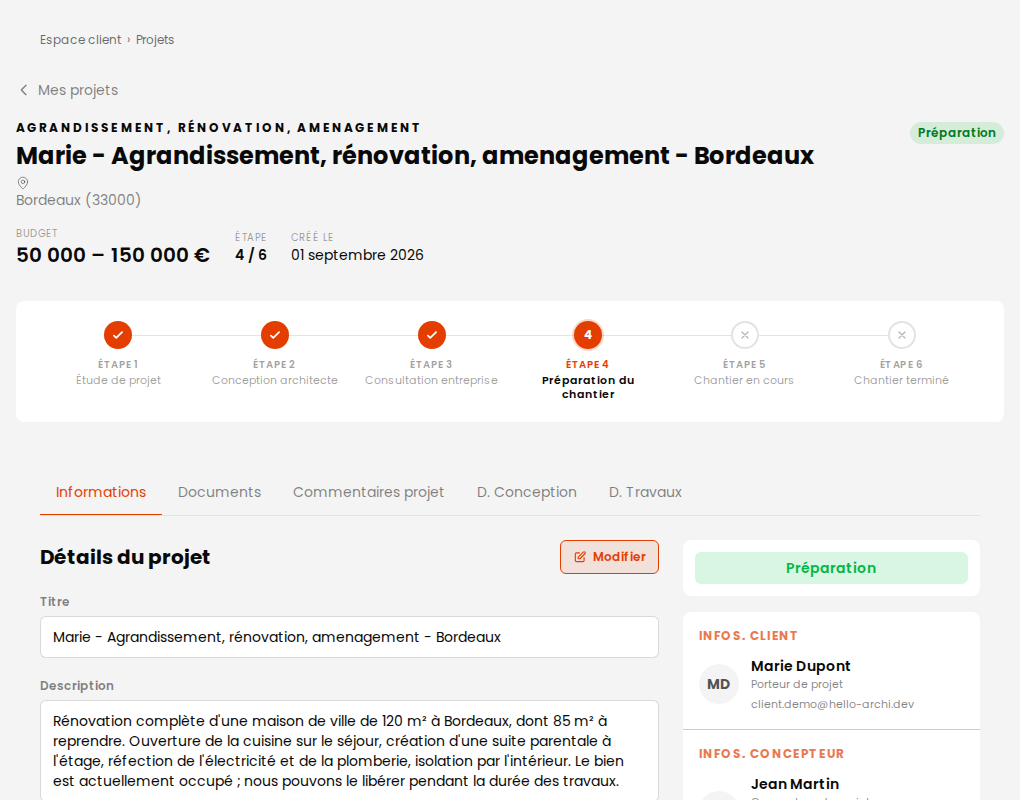
In the meantime, Hello Archi is the one working: we study the file, then invite selected professionals to answer it. You have no one to approach yourself.
3. Receiving and signing a quote
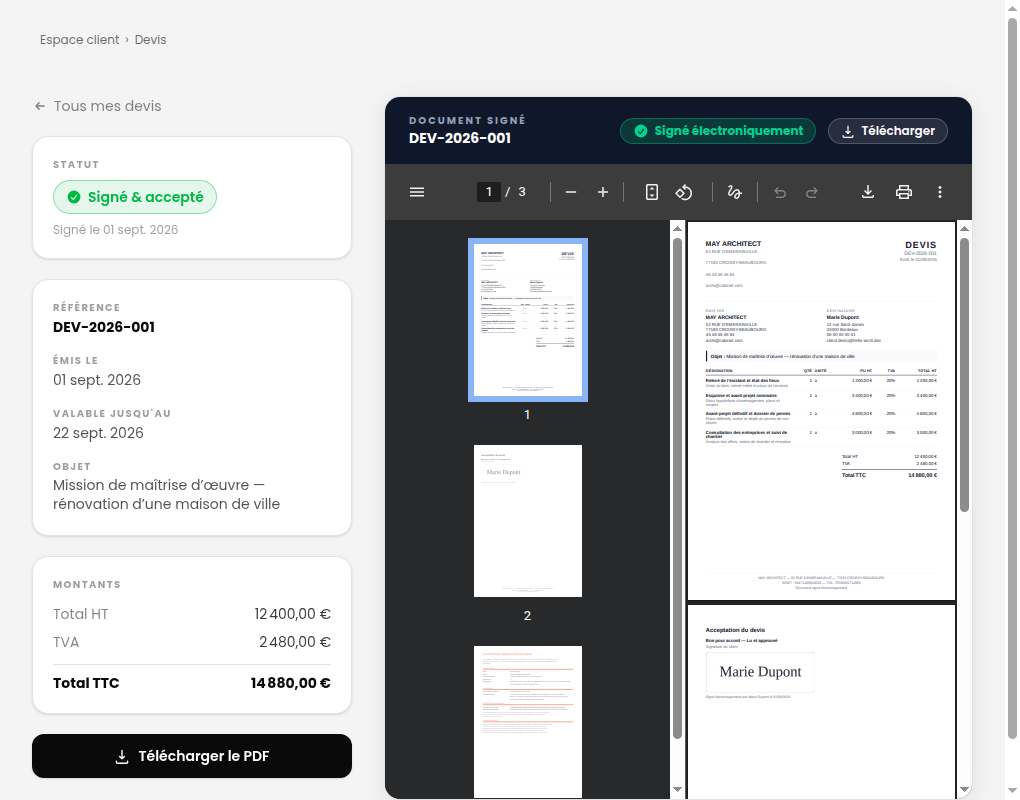
When a professional sends you their proposal, it arrives in your quotes. You read it in full before deciding anything.
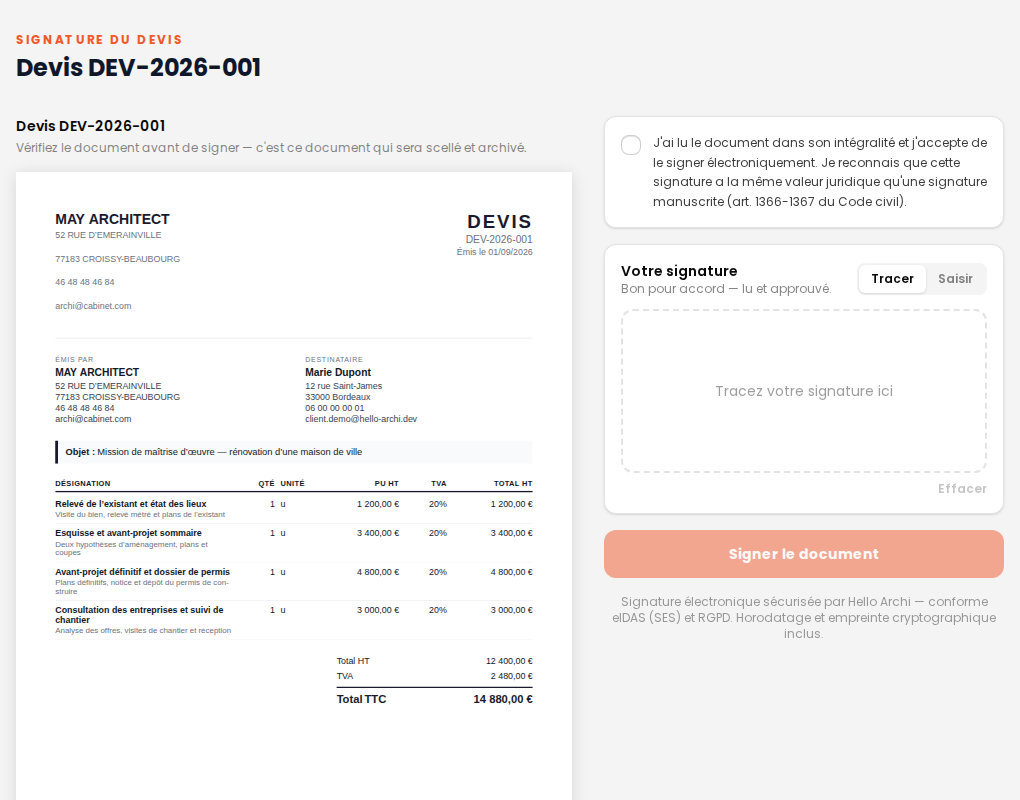
Signing is electronic. You tick a consent box, then draw or type your signature. The signed document is sealed and kept with its proof page.
4. Topping up your wallet
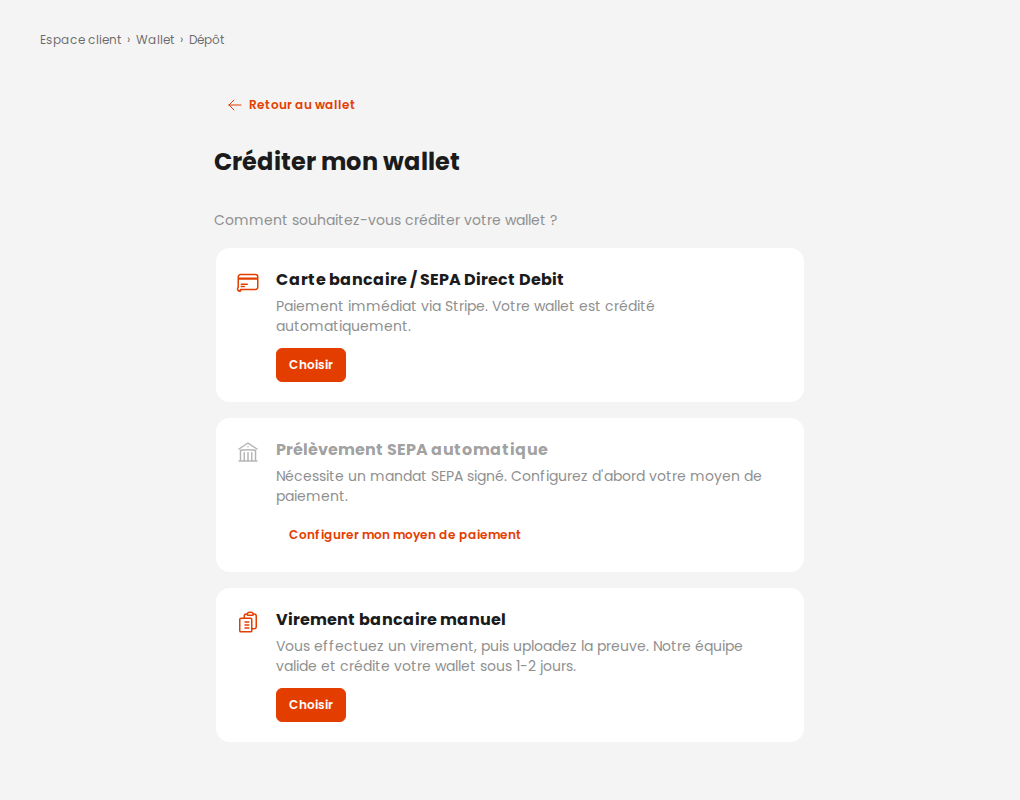
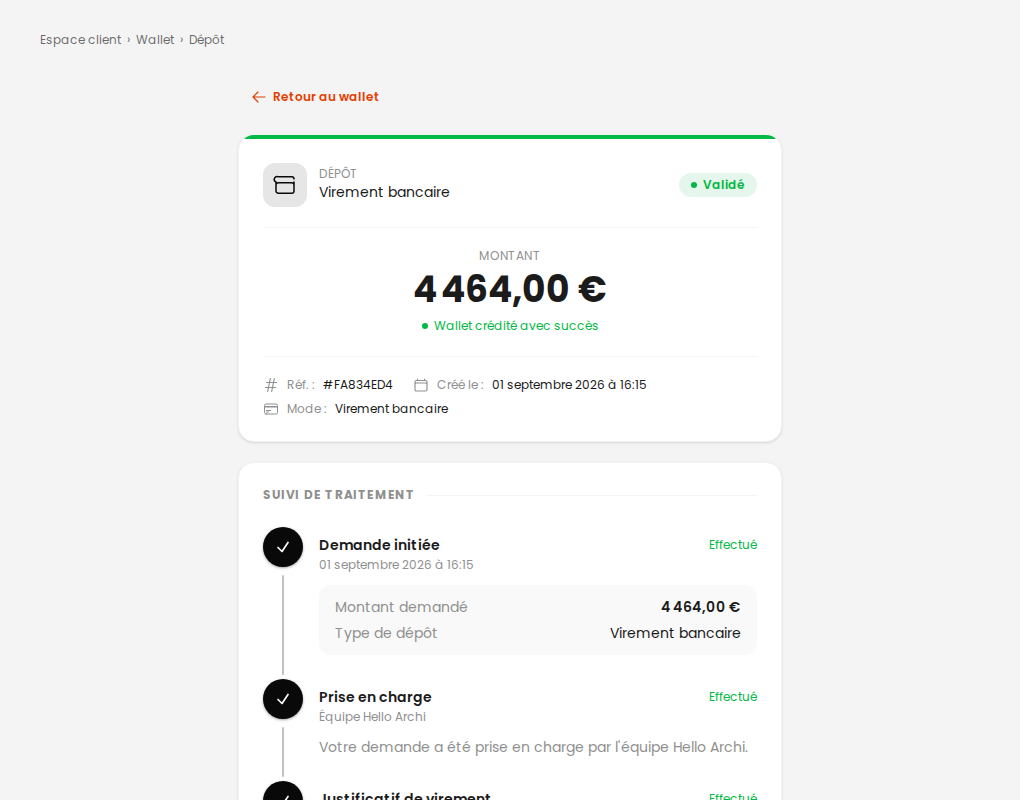
Payments go through an internal wallet. There are three ways to credit it: bank card, direct debit once your mandate is signed, or an ordinary bank transfer.
If you choose a transfer, a tracking page shows where your request stands, step by step, and lets you attach your proof of payment.
5. Paying an invoice
Your professional issues their invoices according to the terms they chose — a single payment, or a deposit then a balance. You settle them from your wallet or by card.
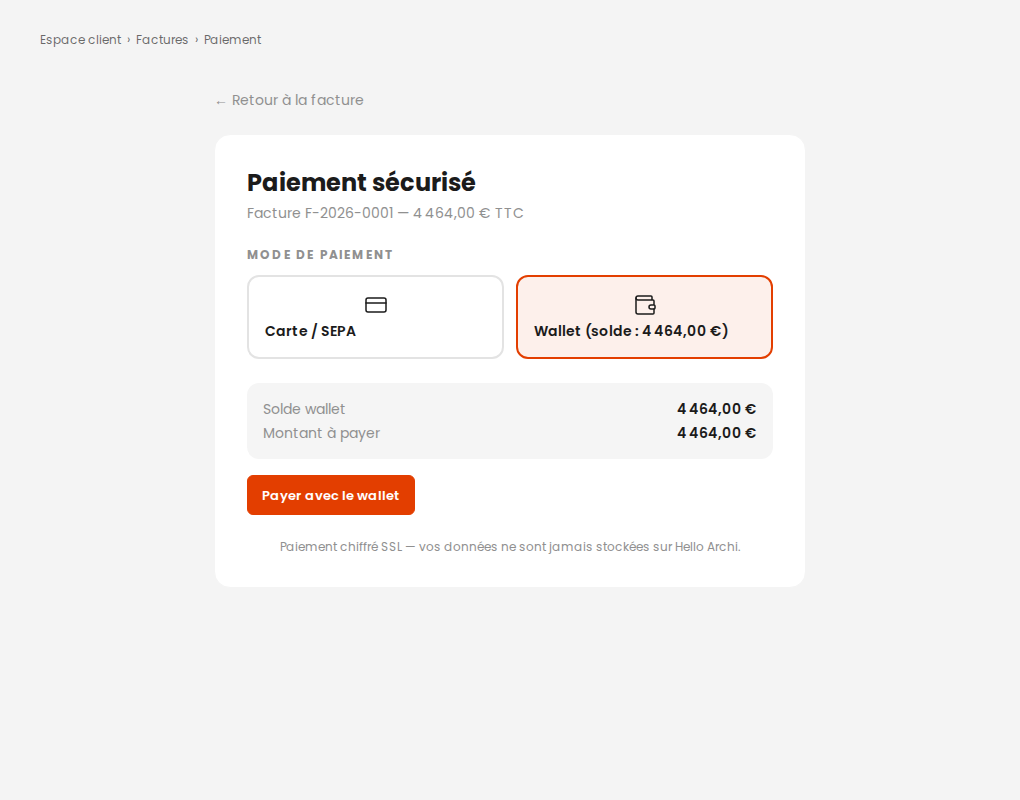
Each invoice keeps its status: you can see at a glance what has been settled and what is still owed.